How to Set Up an NC Servo Feeder for a New Die?
A correct NC servo feeder setup is the difference between a press line that runs smoothly at 200 SPM and one that stops every few minutes with misfeeds and die damage. When a new die arrives, most setters adjust the feeder by trial and error - a little more pitch here, a higher speed there - until the parts look right. That approach wastes hours and hides real problems. This guide walks through a systematic setup procedure that a professional setter can complete in under thirty minutes: verifying mechanical alignment, entering the correct parameters, performing a dry run, and validating feeding accuracy with a test strip. These steps come from FANTY's commissioning experience on the press feeder lines we build, install and service across 60+ countries.
Before You Touch the Keypad: Mechanical Checks
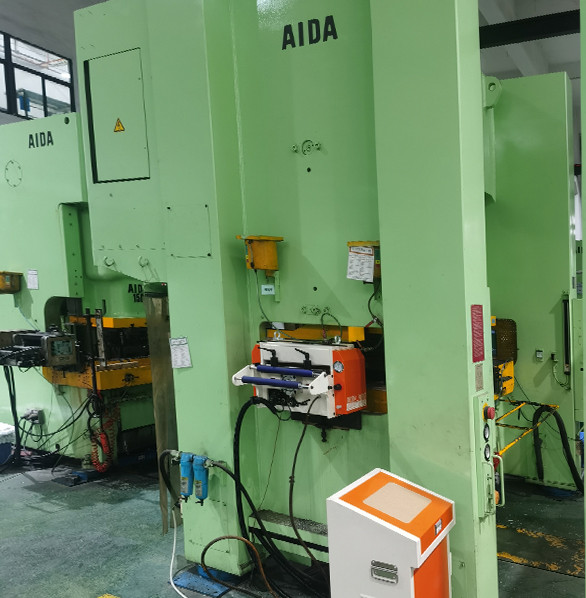
Parameter programming cannot fix a mechanically misaligned feeder. Begin with the basics. Check that the feeder is centered on the press centerline using the dowel holes or marked centerline on the bolster; a feeder offset by even a few millimeters causes strip to run diagonally into the die and accelerates guide wear. Verify the feed height matches the die entry height, and adjust the feeder's base shims or height adjusters until the strip passes dead level through the die. Then check the strip path: the straightener exit, the feeder entry, the die entry and the die exit should all be on one straight line with no forced bends.
Next, confirm that the feed rollers are clean and correctly matched to the material. Remove any oil film or debris from the rollers, because a slippery roller surface is the classic cause of pitch variation on thin strip. Set the roller opening according to the material thickness using the feeler-gauge procedure in the manual: the opening should be material thickness minus a defined crush amount, typically 0.2 to 0.4 mm for mild steel, so the rollers grip without distorting the strip. Finally, verify the pneumatic clamping pressure is within the recommended range and that the clamp cylinders move freely. A sticking clamp cylinder produces intermittent pitch errors that are maddening to diagnose later.
Enter the Correct Setup Parameters
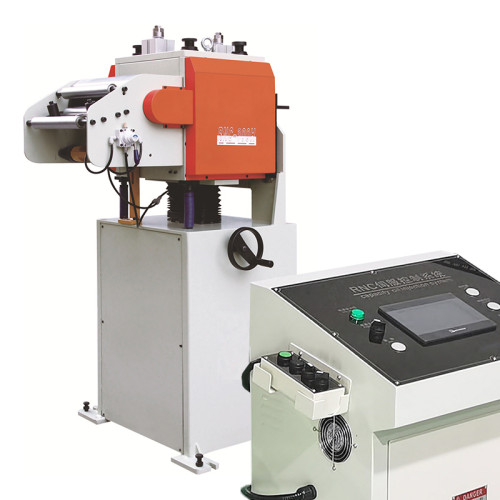
With the mechanics verified, enter the parameters into the NC controller. The critical values are: feeding pitch (the distance the strip advances per press stroke), feed speed or the equivalent strokes per minute, material thickness and width (used by the controller to calculate acceleration curves), and the die pitch if the die has multiple stations. Set the acceleration and deceleration profiles according to the material stiffness: soft or thin strip needs gentler acceleration to avoid slip, while heavy strip can use aggressive profiles. Most modern NC feeders, including FANTY's, store dozens of recipes, so save the new die's parameters under a die number the moment the trial run succeeds - never rely on memory.
One parameter is more important than the rest: the feed angle, or the portion of the press cycle during which feeding occurs. The feeder should complete feeding during the part of the cycle where the press is at bottom dead center and the strip is relaxed, which the controller derives from the press angle sensor. Set the feed start angle so that feeding finishes before the die closes on the next stroke. If the feed angle is wrong, the strip moves while the die is closing, producing shortened or doubled pitches and sometimes die collision. Always confirm the press angle sensor signal is stable before programming feeding - a loose encoder on the crankshaft corrupts every downstream calculation.
- Enter pitch, speed, material thickness and width, and die pitch accurately.
- Match acceleration profiles to material stiffness to prevent roller slip.
- Set the feed angle so feeding completes before the die closes.
- Save the validated parameters as a named recipe for instant recall.
- Verify the press angle sensor signal before every new die setup.
Run the Dry Test and Validate Accuracy
Never start stamping immediately after entering parameters. Run the press in manual or slow mode with the die at its highest position, feeding strip without punching, and observe the strip movement for at least twenty cycles. Watch for three faults: pitch variation (the strip advances different distances each stroke), strip slip (the strip slides relative to the rollers, usually audible or visible as inconsistent movement) and strip buckling (the strip bends between feeder and die). Each fault points to a different cause: variation suggests encoder or clamping problems, slip suggests insufficient roller pressure or excessive acceleration, and buckling suggests feed angle or loop tension problems.
Once the dry run is stable, measure the actual feeding pitch with a precision rule or a marker test: mark the strip at the die entry, feed ten strokes, and measure the total advance, then divide by ten to get the average pitch. Compare it with the programmed pitch. A well-set NC servo feeder holds the average within ±0.05 mm. If the measured pitch is consistently short or long by a fixed amount, the pitch compensation value is mis-set; if the error varies, look at roller grip, clamp pressure or the acceleration profile. Only after the pitch measurement passes should you begin low-speed stamping, then gradually raise the speed while watching the parts and the pitch monitor.
Final Checks Before Full Production Speed
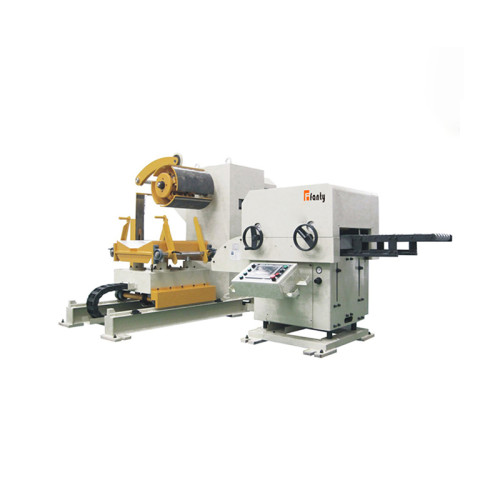
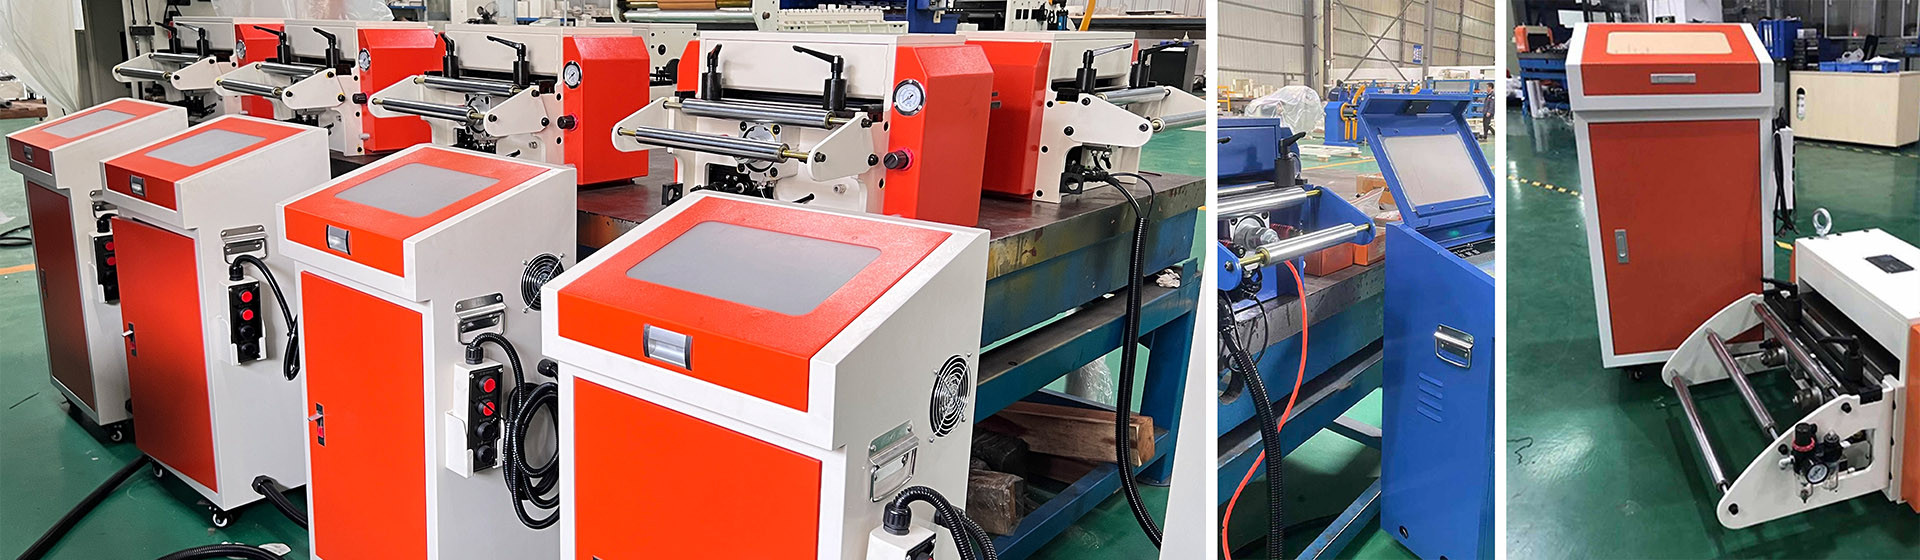
When the low-speed parts pass inspection, complete three final checks before committing to production speed. First, confirm the straightener intermesh produces flat strip: lay a trial piece on a flat table and check for curvature or twist, because a curved strip feeds inconsistently and causes the feeder to slip. Second, verify the loop between the decoiler and the straightener is stable at the target speed; a collapsing loop starves the straightener and introduces tension spikes. Third, run a full coil change to confirm the new die setup is repeatable - the whole setup should reproduce in minutes using the saved recipe. Document the final parameters and any compensation values in the die book for the next shift.
Finally, train the operators on the first production run. Show them how to read the feeder's pitch monitor and alarm codes, when to check the strip for edge condition, and which parameters they may adjust and which require a setter. In our experience, plants that combine a disciplined setup procedure with operator awareness achieve the biggest single improvement in line uptime after purchasing the equipment. The setup routine described here is exactly the procedure FANTY's service engineers perform at every line commissioning, and it is documented in the manuals supplied with each NC servo feeder.
Common Questions About NC Servo Feeder Setup
Why does the feeding pitch vary between strokes?
Variable pitch error usually means roller slip: dirty or worn feed rollers, insufficient roller pressure, or acceleration too aggressive for the material. It can also come from a sticking pneumatic clamp. Clean and check the rollers, confirm the crush setting, and soften the acceleration profile.
How long should a new die setup take?
With a disciplined procedure and saved recipes, a complete NC servo feeder setup - mechanical checks, parameters, dry run, pitch validation - should take 20 to 40 minutes. If it takes hours, the missing piece is usually a standardized procedure rather than a machine problem.
What accuracy can I expect from a properly set servo feeder?
A correctly set and well-maintained NC servo feeder holds feeding pitch within ±0.05 mm at production speed. FANTY validates this accuracy on every feeder before shipment and provides the pitch monitor so operators can verify it in production.
Need Help Getting Your Feeder Setup Right?
FANTY has 12 years of stamping automation experience, an 80+ R&D team and 200+ installed lines. Our engineers will help you program, commission and optimize your NC servo feeder for every die.
Talk to a Feeder Specialist