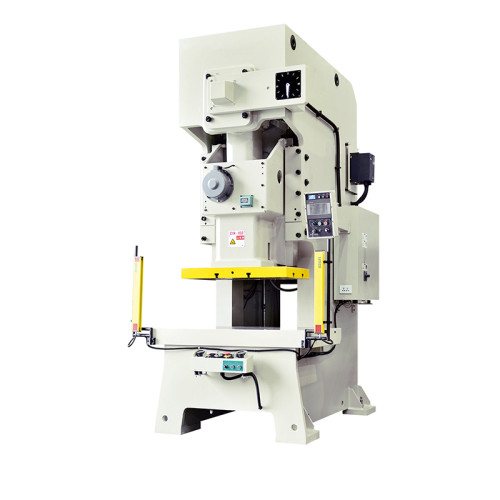
How to Set Feed Length Correctly for a New Progressive Die?
The first part from a new progressive die tells you everything about the setup: if the feed length is right, the strip advances exactly one pitch, the pilots drop into the holes cleanly, and the part comes out complete.
If the feed length is wrong, the pilots miss or shear, the stations stamp in the wrong places, and the die can be damaged in the first strokes. Setting the feed length on an NC servo feeder is therefore the most important step of any die setup, and it is worth doing methodically rather than by trial.
This guide walks through the process from reading the die print to verifying the first part, including the fine adjustments that turn a running setup into a precise one.
The procedure assumes a servo feeder with recipe storage, which is standard on modern coil lines. If you are setting up a die that will run again, the saved recipe makes the second setup a matter of recalling the job rather than repeating the whole procedure.
A related habit that saves time on every setup is keeping a setup sheet for each die. The sheet records the feed length, the feed speed, the pilot correction applied, the strip material, and the date, so the next setup starts from the proven value instead of from the nominal pitch.
When a die returns to the line after a change in material or after a die repair, the setup sheet shows what changed and what to re-verify, turning a thirty-minute first-run procedure into a five-minute confirmation.
Know the Die Pitch Before You Touch the Feeder
The feed length is not a number you invent; it is a property of the die, usually called the pitch or the feed pitch. It is the distance between identical points on consecutive parts, and it is determined by the spacing of the stations in the progressive die.
Before touching the feeder, confirm the pitch from the die documentation and, if possible, measure it directly on the die: the distance between two identical pilots or between the first and second station features.
Trusting a remembered number instead of confirming the pitch is how dies get damaged, because a die that was modified at some point may have a pitch that differs from the original drawing. When in doubt, measure.
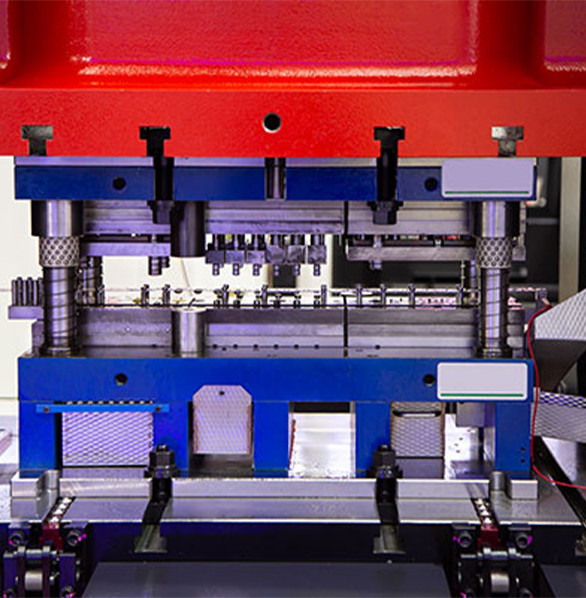
Entering the Value and Checking the Units
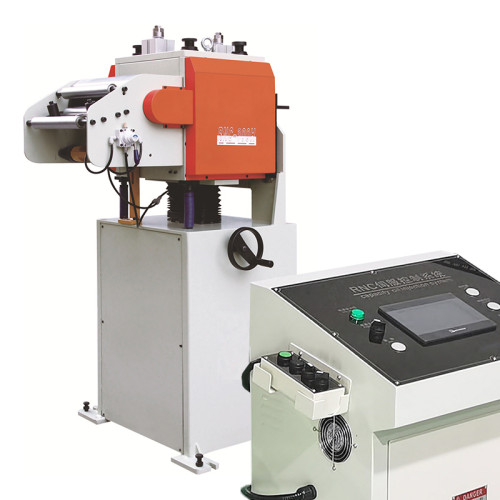
Enter the pitch into the NC servo feeder HMI as the feed length, and confirm the unit is millimeters. The HMI also asks for the feed speed and the acceleration profile, which for the first run of a new die should be conservative: a slower feed gives the operator and the die protection system time to react if something is wrong.
Check the feed length against the die's tolerance as well. Most progressive dies expect the feed length within a tolerance that is much tighter than the visual station spacing, because the pilots correct small errors.
If the die uses pilots, the feeder should be set slightly short of the nominal pitch in some setups, letting the pilots pull the strip to the exact position, but this is a refinement that depends on the die design. For the first run, set the nominal pitch and let the pilot behavior tell you what adjustment is needed.
| Setup step | What to check | Typical value or result |
|---|---|---|
| Die pitch from print | Station spacing in millimeters | e.g. 75.00 mm |
| Feeder feed length | Entered value matches the pitch | 75.00 mm |
| Feed speed | Conservative for the first run | 60-70% of production speed |
| Pilot holes | Already pierced by the first stations | Pilot engages in station two or three |
| First part | Complete and correctly positioned | All stations aligned |
Running the first job slowly also lets you watch the strip enter the die and confirm it is not buckling at the entry or lifting between stations, which are the two mechanical faults that no feed length setting can fix.
The Pilot Test: The Real Verification
For a progressive die with pilots, the pilot test is the moment of truth. Run the line slowly until the strip has advanced far enough that the pilots engage, then stop and examine the pilot holes.
The crescent mark tells you the direction of the error: examine which side of the pilot hole shows the contact mark, and adjust the feed length in the opposite direction by a small increment, typically 0.05 to 0.1 millimeters at a time, until the pilots enter without marking.
This fine adjustment is the difference between a die that runs and a die that runs well, and it is why the first setup of a new die should never be rushed.
First-Part Inspection and Fine-Tuning
With the pilots engaging cleanly, run a few parts at low speed and inspect them against the sample or the die print. Check the position of every feature: holes that should be concentric, edges that should be parallel, and the overall part length.
If the parts show a consistent error in the feed direction, adjust the feed length by half the measured error, not the full amount, because the pilots already corrected part of the discrepancy. Run more parts and re-measure, iterating until the parts are within the die's tolerance.
Record the final feed length with the recipe, because that number, not the nominal pitch, is the value that makes this die run correctly on this feeder.
Common Setup Mistakes to Avoid
Three mistakes account for most first-run feed length problems, and all three are avoidable.
- Trusting a remembered pitch. Dies are modified, prints are revised, and memory drifts.
Always confirm the pitch from the current documentation or a direct measurement. - Running full speed on the first job. The first run should be slow, with the operator watching the strip and the pilot engagement, not chasing production speed.
- Ignoring the crescent marks. A pilot mark that is ignored today becomes a stripped pilot and a damaged die tomorrow.
Read the mark and correct the feed.
Each mistake is a habit that can be broken with a written setup procedure, which is the real protection for both the die and the production schedule.
Frequently Asked Questions
Where do I find the feed pitch of a progressive die?
The pitch is on the die print or the die design data as the station spacing. If the documentation is unavailable, measure the distance between two identical pilot holes or station features directly on the die with a caliper.
Should the feed length be exactly the die pitch?
Start with the nominal pitch and fine-tune from the pilot behavior. Dies with pilots often run best with a feed length that lets the pilots do the final positioning, which can be a fraction of a millimeter different from the nominal pitch.
How do I know if the feed is too long or too short?
Examine the crescent mark at the pilot holes. Contact on the front of the hole means the feed is too long; contact on the back means it is too short. Adjust in small steps and re-test.
Why run the first job slowly?
A slow first run gives you and the die protection system time to react if the feed is wrong or the strip is buckling. At full speed, a mis-set feed can damage the die before the first inspection, because several stations fail in the same stroke.
Can I save the setup for the next run of the same die?
Yes. Store the feed length, speed, and acceleration in the NC servo feeder's recipe memory under the die name. On the next setup, recalling the recipe restores the proven settings and the operator only confirms the strip is threaded correctly.
Related reading
- setting up for fast stamping
- which part limits feeding accuracy
- how to hold feed accuracy on a coil line
Part of the the coil line guide library — the full library of coil handling, straightening and feeding guides from FANTY.
Set Up New Dies Faster with a Feeder That Remembers
FANTY NC servo feeders store complete die recipes, so every proven feed length is one recall away. If you are adding a feeder for progressive die work, send us your die pitch range and press speed and we will specify a machine with the recipe capacity and accuracy your tooling needs.
Request a Feeder for Progressive Die WorkFanty · NC Straightener Feeder
Coated, High-Strength or Thin Gauge? Each Needs Different Rolls
Roll finish and pressure setting decide whether you mark the surface or hold flatness. Send your material spec and we size the straightener feeder properly the first time.
Get a Free QuoteFANTY Machinery · 13 years on stamping automation · 2,000+ coil lines installed · engineers reply within 24 hours