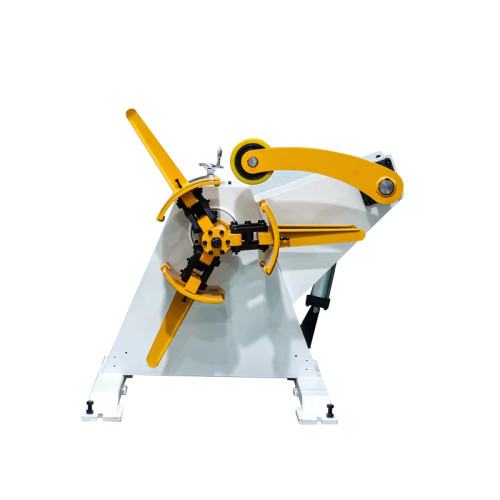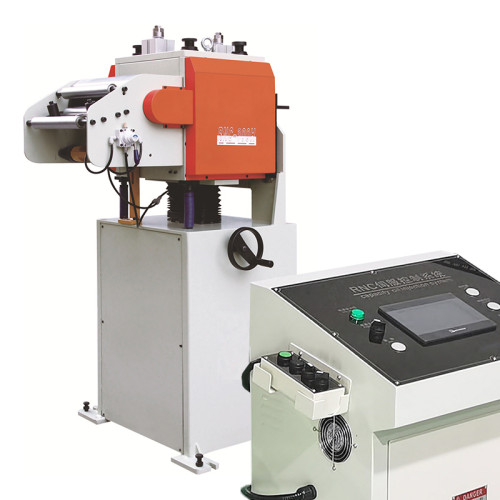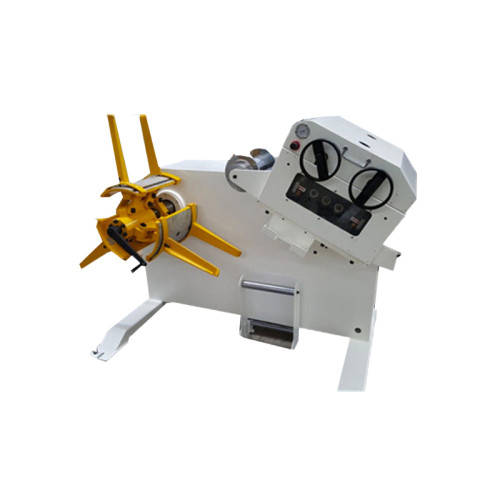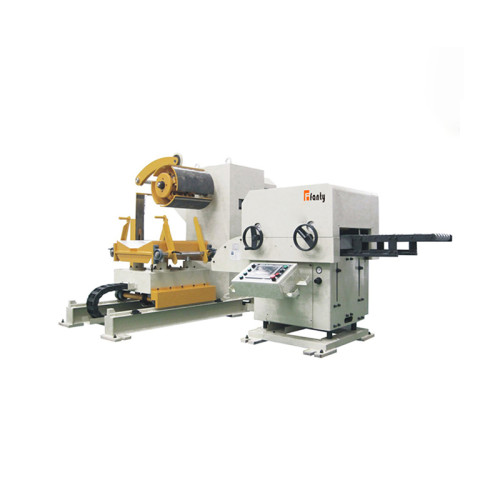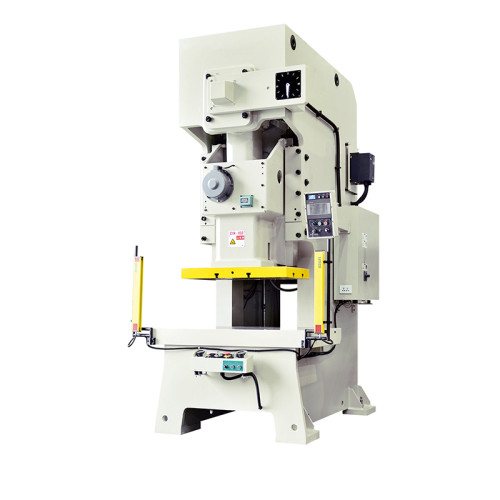
How to Balance Coils on a Motorized Decoiler Correctly?
How do you balance a coil on a motorized decoiler correctly? Every coil that arrives at your press line is a precision cylinder of steel wound under tension, and it wants to unwind in a straight line.
When the coil is not centered and clamped correctly on the decoiler, the line pays for it in strip wander, edge damage, telescoping, and the dreaded sudden coil shift that can shut the line down.
A motorized decoiler does more than spin a mandrel; it actively pulls material from the coil at a controlled speed, which means balance is not just a loading convenience, it is a precondition for stable feeding.
At FANTY, we have built and commissioned decoilers for every weight class from light sheet to heavy strip over the past 12 years, and the loading procedure we teach on day one is the same one that prevents most field problems later.
This guide breaks the balancing job into a clear step-by-step procedure, explains what to check visually, and lists the mistakes that cause the most trouble. It is written for operators and maintenance teams who want to get every coil loaded right the first time.
Why Coil Balance on a Motorized Decoiler Matters
An unbalanced coil rotates with a mass distribution that is not centered on the mandrel axis. At low speed the effect is a gentle wobble; at operating speed it becomes vibration that shakes the decoiler, the straightener, and the feeder, and shows up as feed length errors and surface marks on the strip.
The most dangerous consequence is telescoping. If the coil is clamped off-center, the layers of steel slide relative to one another as the coil spins, and the whole pack can shift sideways and jam against the decoiler frame. That is not a ten-minute fix; it usually means removing the coil, and in a bad case it damages the edges of hundreds of meters of material.
There is also a mechanical cost. A heavy coil running out of balance loads the mandrel bearings unevenly, and those bearings are expensive to replace. Every minute of unbalanced running takes measurable life out of the spindle, the gearbox, and the drive motor. Balancing is one of those habits that protects both output quality and the machine itself.
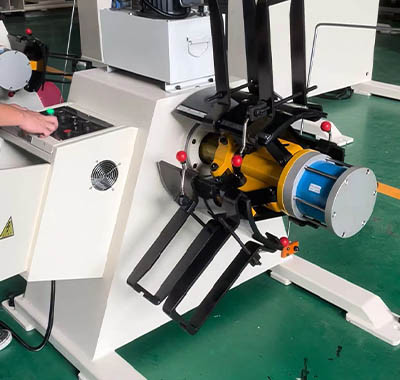
Step-by-Step Coil Balancing Procedure
Follow this sequence every time you load a coil. It takes two extra minutes and saves hours.
| Step | Action | Key Point |
|---|---|---|
| 1 | Confirm coil inner diameter matches the mandrel range | Use the correct expander segment size for the coil ID |
| 2 | Place the coil on the loading car with the eye centered | Check coil width position against the mandrel center mark |
| 3 | Move the coil onto the mandrel and start expansion | Expand gradually and evenly, not in one fast burst |
| 4 | Check clamping by hand rotation | The coil must not rock or slide on the mandrel |
| 5 | Verify the coil face is square to the machine axis | Step back and sight along the coil edge at both sides |
| 6 | Engage the side guides and close the gap | Guides should be close but not pressing hard on the coil |
The heart of the procedure is step 4. After expansion, rotate the mandrel by hand or inching mode. If the coil does not stay put, stop and redo the clamping before you ever run material through the line.
Visual Checks Before You Start Feeding
Before the first strip leaves the coil, spend one minute on these observations. They catch almost every balance problem while it is still free to fix.
- Check the coil eye position — the inner hole should be visually centered on the mandrel axis before expansion.
- Confirm the coil width location — coil edges should sit evenly on both sides of the mandrel center.
- Watch the coil face alignment — both coil faces should be perpendicular to the machine axis.
- Listen for rubbing during rotation — any scraping sound usually means a guide or clamp is too tight.
- Feel the coil rim while inching — wobble you can feel by hand means the clamp is not even.
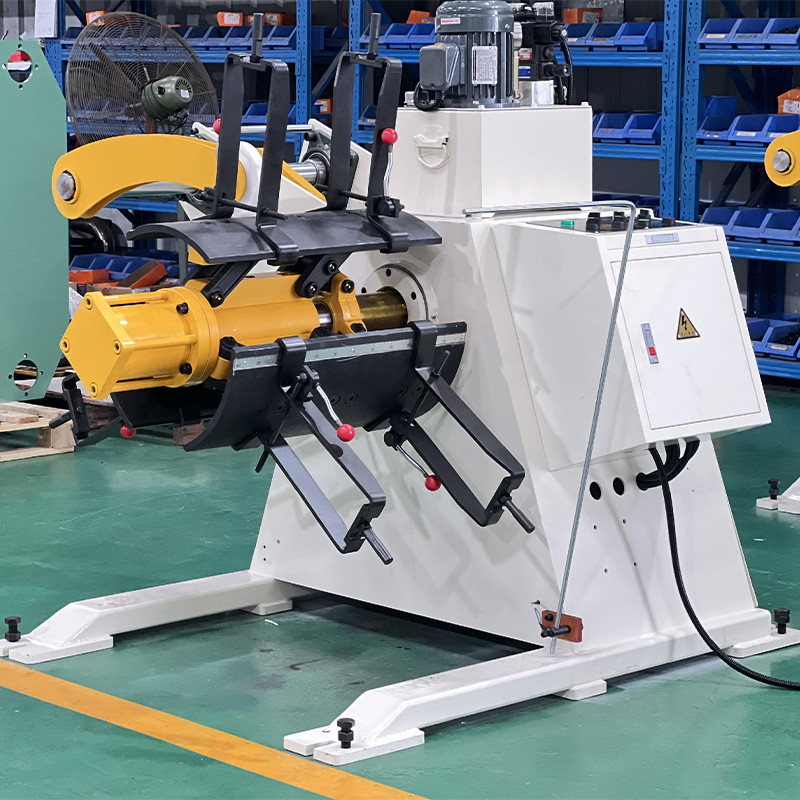
Common Coil Balancing Mistakes to Avoid
Even experienced operators slip into bad habits when the line is behind schedule. The most common mistake is skipping the hand-rotation check on coils that look round from the outside. A coil can look perfect and still be wound off-center inside, which only shows up when it spins.
Another frequent error is over-tightening the side guides. The guides are there to stop the coil from walking sideways; they are not brakes. When they press hard on the coil faces, they generate heat, score the edges, and create drag that the decoiler motor must fight. Set the guides to a small running clearance instead.
Finally, watch the coil as it depletes. The balance behavior changes as the coil gets smaller, and a coil that ran smoothly at full diameter can begin to wobble in its last layers. Slow down slightly near the end of the coil and inspect the final wraps before the tail enters the straightener.
Balancing Heavy Coils and Special Cases
Heavy coils amplify every balance error, so the procedure deserves extra care. When a coil weighs several tonnes, even a small offset in clamping creates a large rotating imbalance, and the momentum involved makes sudden shifts genuinely dangerous.
Special material cases need their own attention. Narrow coils are prone to edge buckling if the guides are not aligned with the strip path, while wide, thin coils flex more during expansion and may need the expansion repeated in two stages to avoid distortion.
Aluminum and copper coils are softer and more easily damaged by aggressive clamping, so expand gently and check for indentation marks on the coil inner surface.
Whatever the coil weight, the golden rule never changes: never run the line with a coil that rocks. If anything feels wrong during the hand-rotation check, stop, release the clamp, and re-seat the coil. In 12 years of commissioning across 60+ countries, we have seen every shortcut imaginable, and the ones that end badly always skipped this final verification step.
Standard operating procedures are the real fix. Write the balancing sequence on a card and mount it beside the decoiler, so every operator follows the same six steps on every shift. When a plant standardizes the loading procedure, coil-related downtime drops noticeably within the first month, because the whole team stops relying on memory and starts relying on a checklist.
Frequently Asked Questions About Decoiler Coil Balance
How do I know if my coil is centered before I clamp it?
Align the coil eye with the mandrel center line using the loading car position and the machine's centering marks. Many modern decoilers include an LED or scale to confirm position. If yours does not, sight along the coil edge from both ends before expanding.
What causes a coil to telescope during unwinding?
Off-center clamping is the usual cause, sometimes combined with a coil that was wound with internal tension problems at the mill. Correct the clamping first; if telescoping persists, the coil itself may be defective and should be flagged for the supplier.
How tight should the side guides be?
Close enough to prevent lateral movement, loose enough that you can feel a small gap when the coil rotates. A running clearance of a few millimeters is typical. Hard contact means the guides are acting as brakes.
Can an unbalanced coil damage the motorized decoiler?
Yes. The unbalanced mass creates a cyclic load on the mandrel bearings, spindle, and drive gearbox, which accelerates wear. Sustained unbalanced running can lead to premature bearing failure and vibration damage to the whole line.
Should I re-balance a coil that has already started feeding?
Only if you stop the line to fix it, and only when the coil is still large enough to handle safely. Small corrections to clamping are possible, but never reach into a spinning or partially expanded mandrel. Safety first, always.
Related reading
- how to thread a coil onto a decoiler
- how a decoiler mandrel grips a coil
- how to specify a decoiler for a coil line
Part of the the coil line guide library — the full library of coil handling, straightening and feeding guides from FANTY.
Load Every Coil Right, Every Time
Ask FANTY about motorized decoilers with guided loading and centering aids for your coil range.
Request a Decoiler Quote