How to Thread a Coil onto a Decoiler Safely?
The worst coil-handling injury I have seen on a shop floor did not come from a machine failure. It came from an operator cutting the banding on an 1,800 kg coil while standing directly in front of the coil eye. The wrap opened, the outer lap sprang, and the strip edge caught his forearm. The line was stopped and the guards were in place. The procedure was the problem.
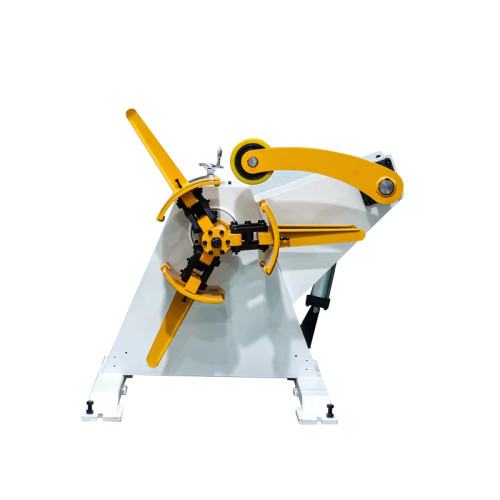
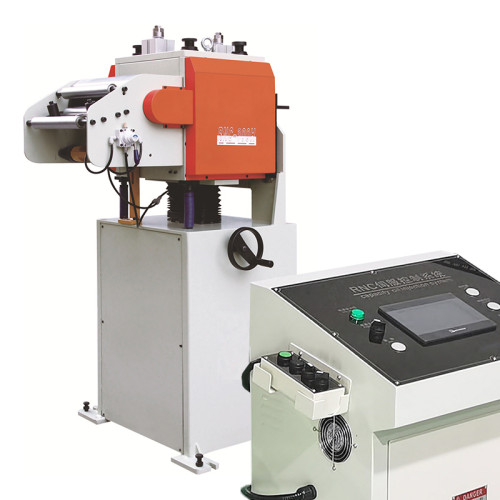
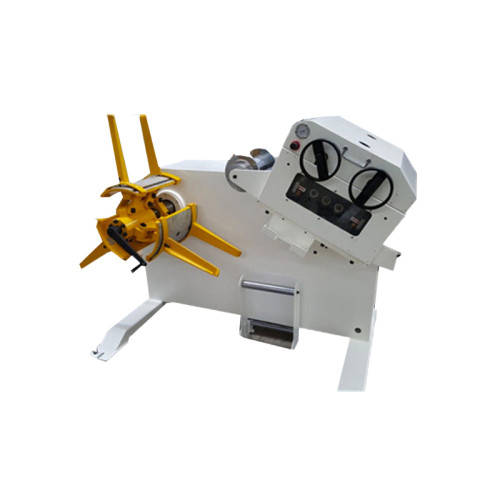
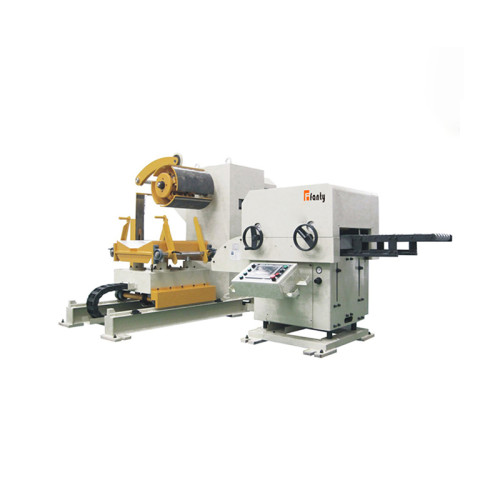
Threading a coil onto a decoiler and through to the die is the most hands-on task on a coil-fed line, and it is the one operators repeat hundreds of times a year. This is the sequence I walk through on every site visit: what to check before the coil is lifted, the threading order that keeps hands out of pinch points, and the four mistakes that keep showing up in incident reports. If you are still selecting the machine, the NC Straightener Feeder range covers decoiler, straightener and feeder as one line.
Before the Coil Is Lifted
Every step below happens with the coil still on the floor or on the car. Once it is in the air, the options narrow quickly.
- Coil weight against the rating. Weigh or read the coil ticket, then compare it to the decoiler plate. An 1,800 kg coil on a 1,500 kg rated mandrel does not fail politely; it fails at the bearings while the coil is in the air.
- Coil inner diameter against the mandrel range. Confirm the ID sits inside the expansion range with margin. A coil that only just fits will slip under load and mark the inner wrap.
- Eye direction confirmed against the line layout. On most lines the coil eye should face the direction that lets the strip run off the top, but on some layouts the opposite orientation is correct. Decide before lifting, not after.
- Lifting gear inspected. Slings, C-hooks and spreader bars checked this shift, not this quarter. The coil is the heaviest thing that moves on the line.
- Path clear, people clear. The travel path from storage to mandrel swept before the lift starts. Coil edges at head height are not visible to a crane operator.
The Threading Order, Step by Step
Follow the order below. Each step assumes the previous one is complete and the line is in setup mode with the main drive disabled.
Step 1: Seat the coil on the mandrel. Bring the coil to the mandrel at centre height, slide it on until it seats against the back plate, then expand the mandrel to full contact. Do not expand partially to save a minute; partial contact is how coils walk off during braking.
Step 2: Set the hold-down arm before removing the banding. Lower the hold-down or pressure arm onto the coil OD so the outer wrap is restrained. This single step removes most of the stored energy from the coil before anyone touches the banding.
Step 3: Cut the banding from the side, never from the front. Stand to the side of the coil axis, cut the strap, and let the arm absorb the release. The wrap will move; it should not move toward you.
Step 4: Peel the outer wrap by hand or with a peeler, then dress the strip end. Remove the damaged outer lap, then cut the strip end square and deburr both corners. A burred or angled end catches on every guide it meets downstream.
Step 5: Open the straightener and feeder rolls before feeding. Release roll pressure so the strip passes through with the rolls apart. Feeding a strip end through closed rolls marks the surface and, on thin material, buckles it.
Step 6: Feed the strip end to the first roller by jog, not by hand. Use the inch or jog function. Hands guide, they do not push. Keep both hands clear of the roll nip line while the strip is moving.
Step 7: Close the rolls progressively and set the pass line. Bring the rolls down evenly, check strip centring by eye against the guide scales, and confirm the pass line before applying full pressure.

The Strip End Is Where the Damage Happens
Most threading problems trace back to the first 300 mm of strip. A cut that is not square crosses the line at an angle and rides up a guide flange. A burr scrapes the roll surface and leaves a witness mark that shows up on every part. An end that was kinked during storage will not lie flat and will fight the straightener for the first two metres.
Spend twenty seconds on the strip end and the rest of the threading gets easier. Cut square, deburr both corners, and if the outer lap is crimped from banding, cut it back until you reach clean, flat material. The scrap value you lose is a few kilograms; the roll damage you avoid is a maintenance week.
Release Checks Before You Start Production
Nothing below takes more than a minute, and together they catch nearly every setup error that would otherwise appear at the press.
| Check | What good looks like | Why it matters |
|---|---|---|
| Strip centring | Equal clearance both sides against guide scales | Off-centre strip loads one side of the die |
| Roll pressure | Set per material and thickness, not by feel | Over-pressure marks strip; under-pressure slips |
| Loop between decoiler and feeder | Present with slack, sensor in range | No loop means the feeder pulls against the coil |
| Brake response | Coil stops within one revolution after stop | A slack brake lets the coil overrun and flood the loop |
| Guards and interlocks | All fitted, interlocks confirmed by test | Setup mode is the highest-risk state on the line |
| First ten parts | Measured, not eyeballed | Confirms feed length and flatness before full speed |
Four Mistakes That Keep Appearing
These four account for most of the threading problems I am asked to look at. None of them is a machine fault.
Expanding the mandrel only part way. Operators do it to save time on a coil that runs for a long time. The mandrel then holds the coil on a fraction of its circumference, and every brake application works the coil loose. The symptom is a coil that walks and a strip that runs off-centre, which gets blamed on the guide setting.
Threading with the rolls closed. It feels faster, and it works, until the strip end catches on a roll face and the material folds. On thin strip the fold turns into a jam that takes longer to clear than the roll opening would have taken.
Skipping the first-ten-part check. The line looks fine, so production starts. Feed length error and flatness problems then run for an hour before anyone measures a part, and the scrap bin fills with material that could have been caught in five minutes.
Treating setup mode as low risk. Guards come off for access, interlocks get bypassed so the line can be jogged, and the person threading works alone. Setup is when hands are closest to moving parts; it deserves tighter discipline than production running, not looser.
Should the coil run off the top or the bottom of the decoiler?
Off the top on most lines, because it introduces a natural curve that the straightener can work against and keeps the strip path away from the floor. Some layouts are designed the other way, and the layout drawing always decides. Confirm before the coil is lifted rather than correcting it with the straightener afterwards.
How much outer wrap should be cut off before threading?
Enough to reach clean, flat material with square edges. On a coil that has been stored on its side or double-strapped, that can be two or three laps. The scrap is measured in kilograms and the alternative is measured in roll damage.
Can one operator thread a coil safely?
Yes, with the line in a proper setup mode, the coil on a car or at centre height, and the feed done by jog control. The unsafe version is one operator holding the strip while reaching for the jog button on a machine with guards removed, which is how most threading injuries happen.
How often should the threading procedure be retrained?
Annually for experienced operators and at induction for new ones, with a practical sign-off rather than a signature on a sheet. Re-visit it after any near miss, because the drift back to shortcuts usually starts within a few weeks of an incident.
Want a threading and setup procedure for your line?
FANTY supplies coil feeding equipment to 60+ countries and supports installations with written setup procedures in the customer's language. Send your line configuration and material specification and the engineering team will prepare a procedure for your operators.