How to Plan NC Straightener Feeder Installation?
A well-executed NC Straightener Feeder installation is the difference between a press line that starts producing on day one and a project that drags on for weeks.
Too many buyers focus only on machine price and forget that this equipment has to be delivered, rigged, positioned, aligned, connected, and commissioned inside a real workshop.
This guide walks you through every stage of planning an NC Straightener Feeder installation, from shop floor layout and foundations to utilities, safety zones, and commissioning.
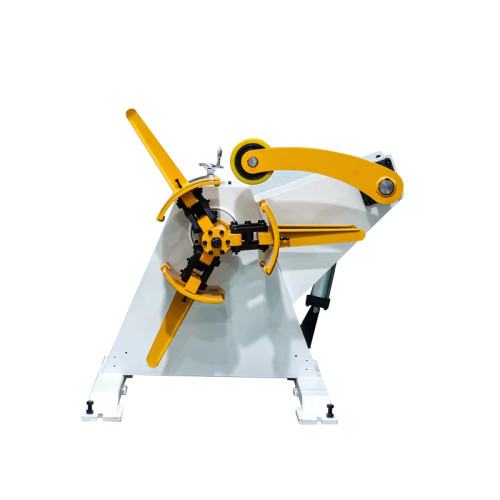
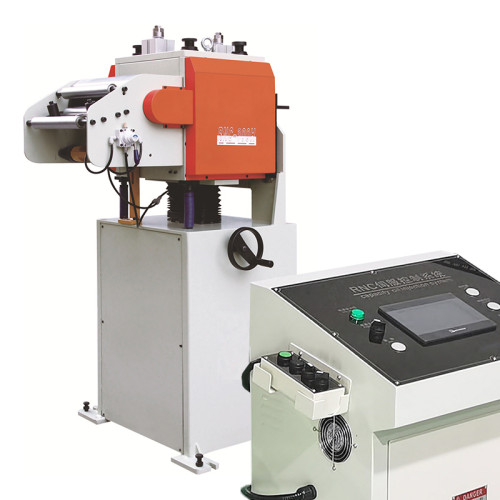
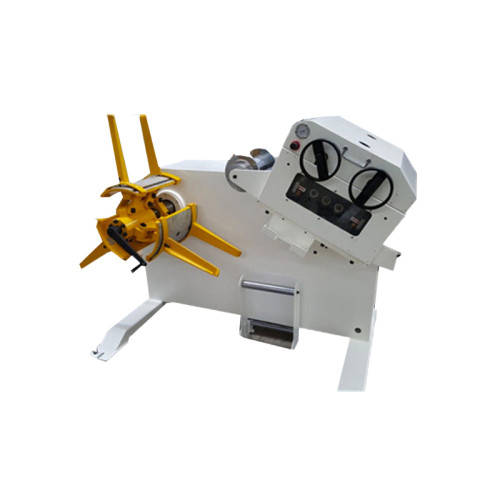
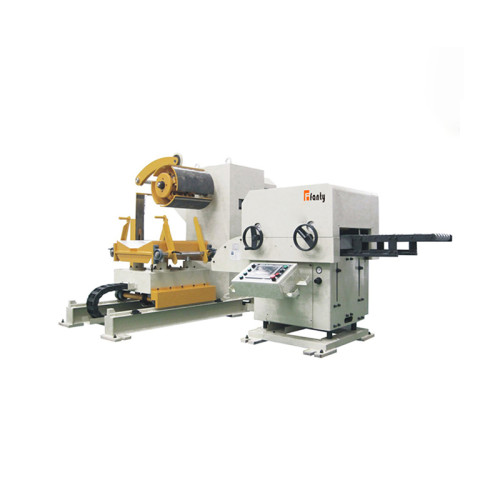
Whether you are adding a single 3-in-1 decoiler straightener feeder or a complete coil feeding line with an NC servo feeder from FANTY, the same planning discipline applies. Get the preparation right and the whole project becomes routine.
Step 1: Assess Your Shop Floor Before Anything Else
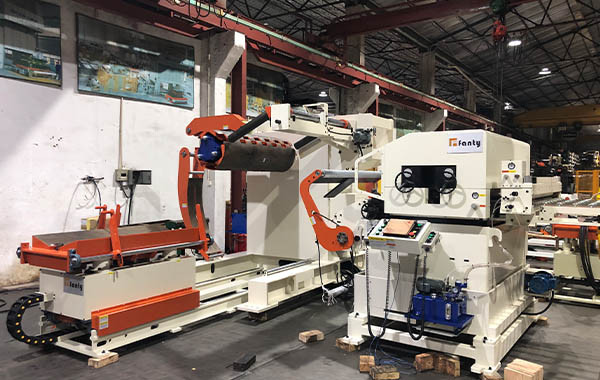
Before you order a single component, walk the exact floor area where the NC Straightener Feeder will live and measure everything with a tape, not your eyes.
Check the floor condition as well. The surface under an NC Straightener Feeder must be level, clean, and strong enough to carry the combined weight of the machine plus a loaded coil. A loose tile or a painted floor that peels under pallet traffic is a warning sign.
Record the exact slab thickness if you can find the building drawings, and note any floor cracks, drains, or utility trenches in the footprint.
These details decide whether you need a simple leveling pad or a full reinforced foundation, and discovering them after the machine arrives is far more expensive than finding them now.
Finally, think about future flexibility. If production volumes are expected to grow, leave spare length on the exit side of the NC servo feeder so a straightener, a loop pit, or a second press can be added later without relocating the machine. Planning for the next five years at this stage costs nothing, but retrofitting space later can cost more than the machine itself.
Step 2: Check Loads, Foundations, and Rigging Routes
The weight story is easy to underestimate. A heavy-duty NC Straightener Feeder alone can weigh several tons, and once a full coil sits on the cradle the total load on the floor roughly doubles.
Rigging is the part that most plans forget. Measure door openings, corridor widths, and elevator or ramp capacities along the route the machine will travel from the truck to its final position.
A 3-in-1 decoiler straightener feeder is delivered as one unit in most configurations, and if the door is 40 cm too narrow you will face an expensive field split or a wall modification.
Confirm crane capacity and hook height if the machine must be lifted over other equipment, and arrange a forklift with adequate capacity and a long mast for machines that are tall. Book the rigging crew for the same day the machine arrives so storage on a truck or in a yard does not become an unplanned delay.
Also plan the unloading spot. You need a hard, level area near the bay where the truck can park, ideally with enough room for the machine to be set down and re-picked by the internal forklift. Soft ground, gravel, or a wet lawn will sink a forklift under a multi-ton load and turn a one-hour unload into a full-day problem.
Step 3: Prepare Utilities and Connections
An NC Straightener Feeder needs three utilities: electrical power, compressed air, and sometimes hydraulic or cooling connections depending on the model. Start with the power supply because it is the most commonly mismanaged item.
Compressed air is the second utility. A pneumatic straightener or a NC servo feeder with air-operated roll lifting needs a dry, filtered air supply at the pressure stated in the manual, typically 0.5 MPa.
Run a dedicated line to the machine rather than tapping from a busy manifold, because pressure drops during simultaneous use by other machines cause intermittent feed and straightening faults that are very hard to diagnose.
Fit a filter-regulator-lubricator unit close to the machine, and route the hose so it cannot be crushed by forklift traffic.
Finally, think about lighting and access. The operator interface, the coil loading side, and the strip entry area should be well lit, and there should be a clear walkway around the machine for maintenance.
Vents and cooling fans on the control cabinet need free space, so do not stack pallets or crates within half a meter of the cabinet. These small details are what separate an installation that runs for years from one that generates service calls every month.
Step 4: Create the Installation and Commissioning Plan
Draw up a simple, dated plan covering delivery, rigging, positioning, leveling, connection, and commissioning. Assign one responsible person to each step and agree on a target date for first production.
| Phase | Key Tasks | What to Check |
|---|---|---|
| Pre-delivery | Floor marking, utilities, rigging route, crane booking | Level surface, power rating, air supply, door clearance |
| Receiving | Unload, inspect for transit damage, verify packing list | Damaged panels, missing parts, loose bolts |
| Positioning | Move to footprint, align with press centerline, level machine | Level within spec, anchor bolts torqued |
| Connection | Power, air, earth, safety circuits, optional signals to press | Voltage correct, no reversed phases, air pressure set |
| Commissioning | Run-in without coil, then with coil, feed accuracy test | No abnormal noise, feed length within tolerance |
Commissioning should be done with the machine supplier present or by video call, at least for the first run. Feed the strip manually at jog speed, confirm the straightening rolls are set for the material thickness, and run a trial stamping job at reduced speed before ramping up.
Measure the actual feed length against the programmed value; a correct installation of an NC Straightener Feeder from a supplier like FANTY should hold ±0.05 mm accuracy, but that accuracy only means something if the machine is level, anchored, and the strip path is clean.
Step 5: Plan Safety, Training, and Documentation
Safety planning is not an afterthought. Mark the safety zones around the NC Straightener Feeder, especially the coil loading area and the strip entry point, and make sure emergency stop buttons are reachable from both the operating side and the loading side.
Plan your spare parts stock too. The highest-consumption items on any NC Straightener Feeder are straightening rolls, feeder rolls, and the rubber-covered rolls that drive thin material. Ask the supplier for a recommended spare list and keep the critical items on the shelf, because a two-day wait for a roll can cost far more than the roll itself in lost production.
When you plan installation properly, the payback is quick. FANTY has 12 years of experience and more than 200 installed coil feeding lines across 60 countries, and the pattern is always the same: the customers who do this preparation work start production fastest.
If you are planning a new line and want drawings or installation guidance, the FANTY team works out of a 45,000 m² factory with 80+ R&D engineers, and they are glad to review your floor plan before you pour any concrete.
Frequently Asked Questions
How long does an NC Straightener Feeder installation take?
A typical installation takes two to four days from arrival to first production when the floor, utilities, and rigging are prepared in advance. Positioning and leveling take half a day, connections take one day, and commissioning with trial parts takes one to two days. Poor preparation can stretch this to two weeks, which is why planning matters more than the machine itself.
What foundation do I need for a 3-in-1 decoiler straightener feeder?
A level industrial concrete slab of at least 200 mm thickness is usually sufficient for a 3-in-1 decoiler straightener feeder when leveling feet with wide base plates are used. Machines over about eight tons with large coil capacity may need a reinforced pad. Always confirm the exact weight and foundation drawing with your supplier before pouring concrete.
What power supply does an NC Straightener Feeder need?
Most machines run on three-phase supply, commonly 380 V or 220 V depending on the destination country. Check the nameplate rating, breaker size, and cable cross-section against your local supply. Servo-driven machines are sensitive to voltage quality, so a dedicated circuit with a clean earth is strongly recommended.
Does the supplier provide installation supervision?
Most reputable suppliers, including FANTY, provide remote commissioning guidance and can send engineers for on-site supervision. FANTY also reviews customer floor plans and foundation drawings before delivery at no charge. Check the terms of your contract to confirm whether travel and accommodation are included.
Related reading
- how much floor space a coil line needs
- how to select the right model
- what each specification line really costs
Part of the the coil line guide library — the full library of coil handling, straightening and feeding guides from FANTY.
Ready to plan your new coil line?
Get foundation drawings, installation guidance, and a free layout review from FANTY's engineers.
Send Your Inquiry